
HUD Builder
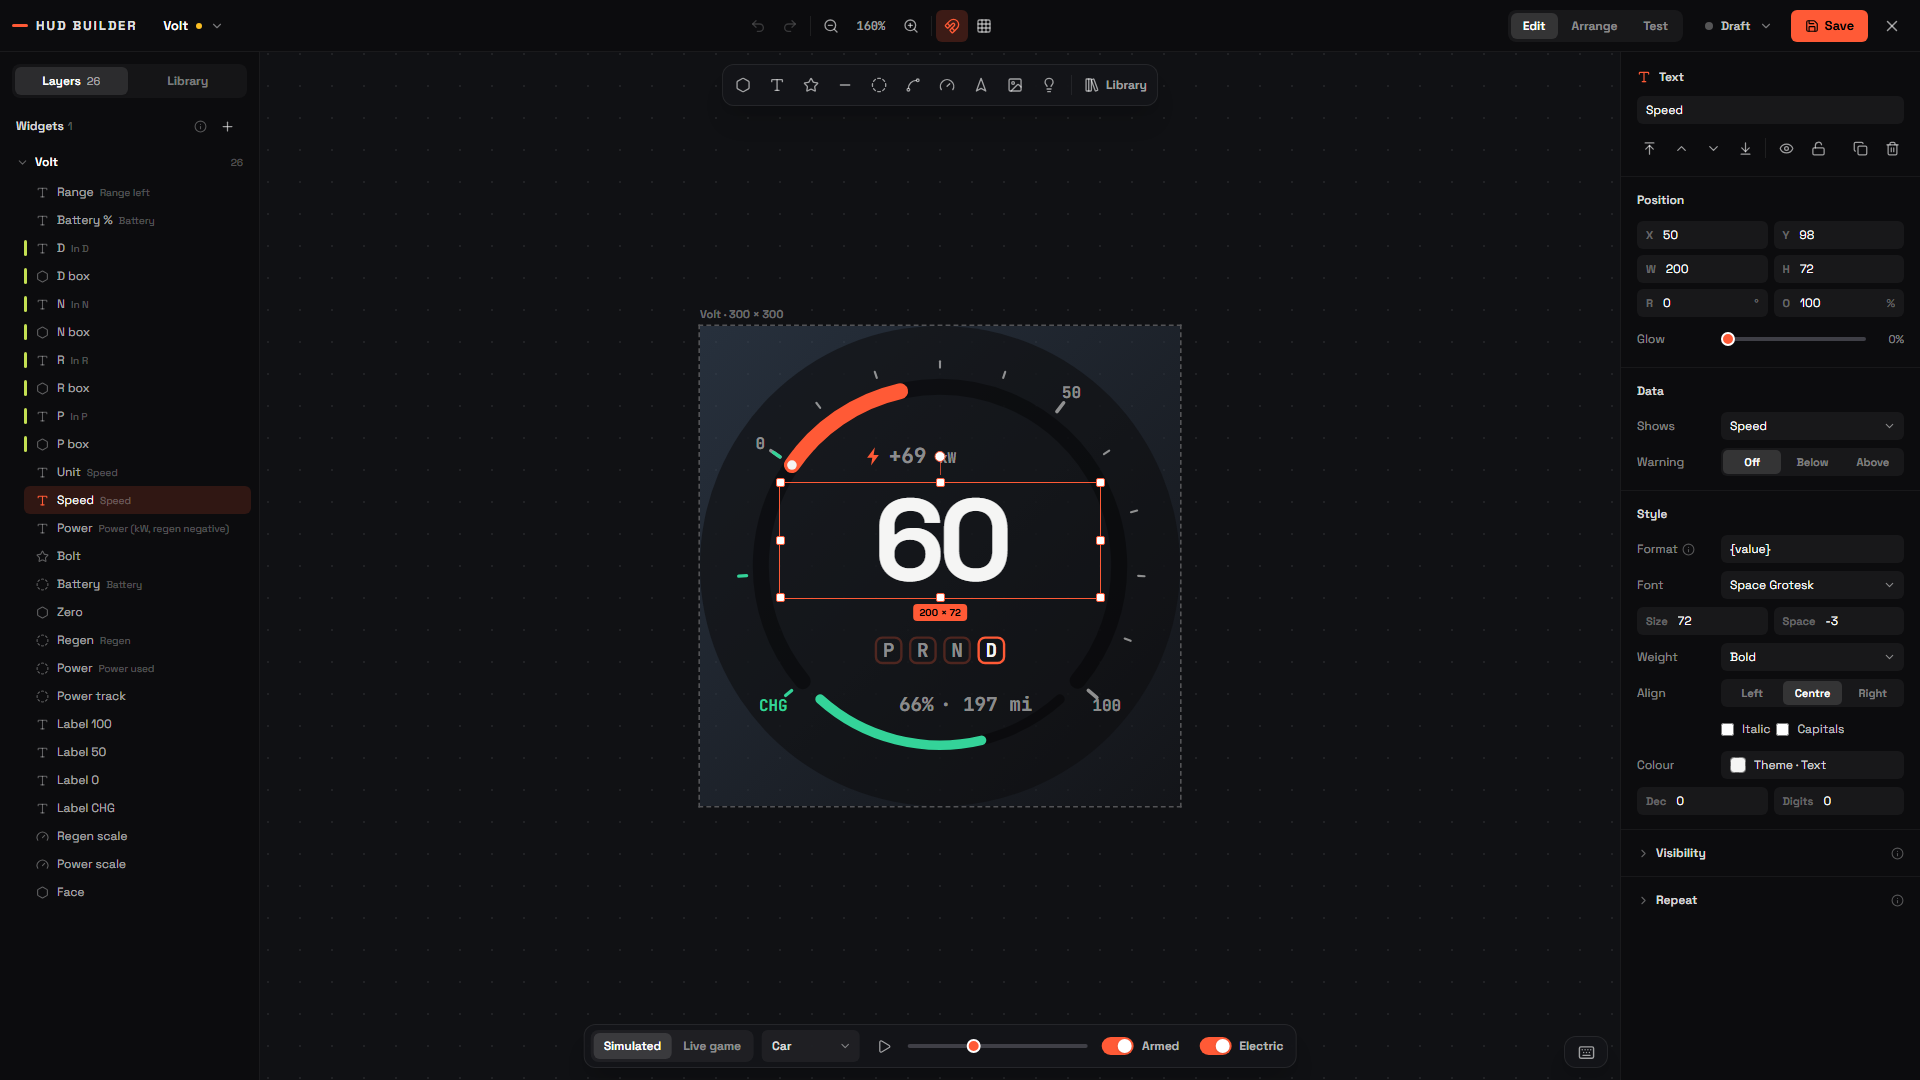
The HUD Builder lets admins design their own HUD in game, without code. Build speedometers, status bars, weapon displays or anything else from ready-made parts, watch them react to live data while you work, then publish them for your players.
Open it with /hudbuilder, or /hud → General → Open HUD Builder. Only players with the builder ACE can open it, see Installation → Admin access.
🧱 How it's organised
| Design | What you publish. A design has a name, one or more widgets, and a list of built-in HUD parts it replaces. |
| Widget | One block on the screen, like a speedometer, a status row or a weapon panel. Players can move and resize widgets in their own Edit Layout. |
| Part | One piece inside a widget, an arc, a bar, a number, an icon… |
🖥️ The screen
| Area | |
|---|---|
| Top bar | The design menu (click the design's name: switch designs, New, Duplicate, Import / Export share code, Delete, an amber dot means unsaved changes); undo / redo; zoom and fit; smart guides and grid snap; the Edit / Arrange / Test switch; the publish menu (Draft / Published / ★ Default, and Use on my HUD); Save |
| Add bar (above the canvas) | One click adds a part, shape, text, icon, bar, arc, path, scale, needle, image or lights, to the middle of the widget. Library opens the ready-made pieces |
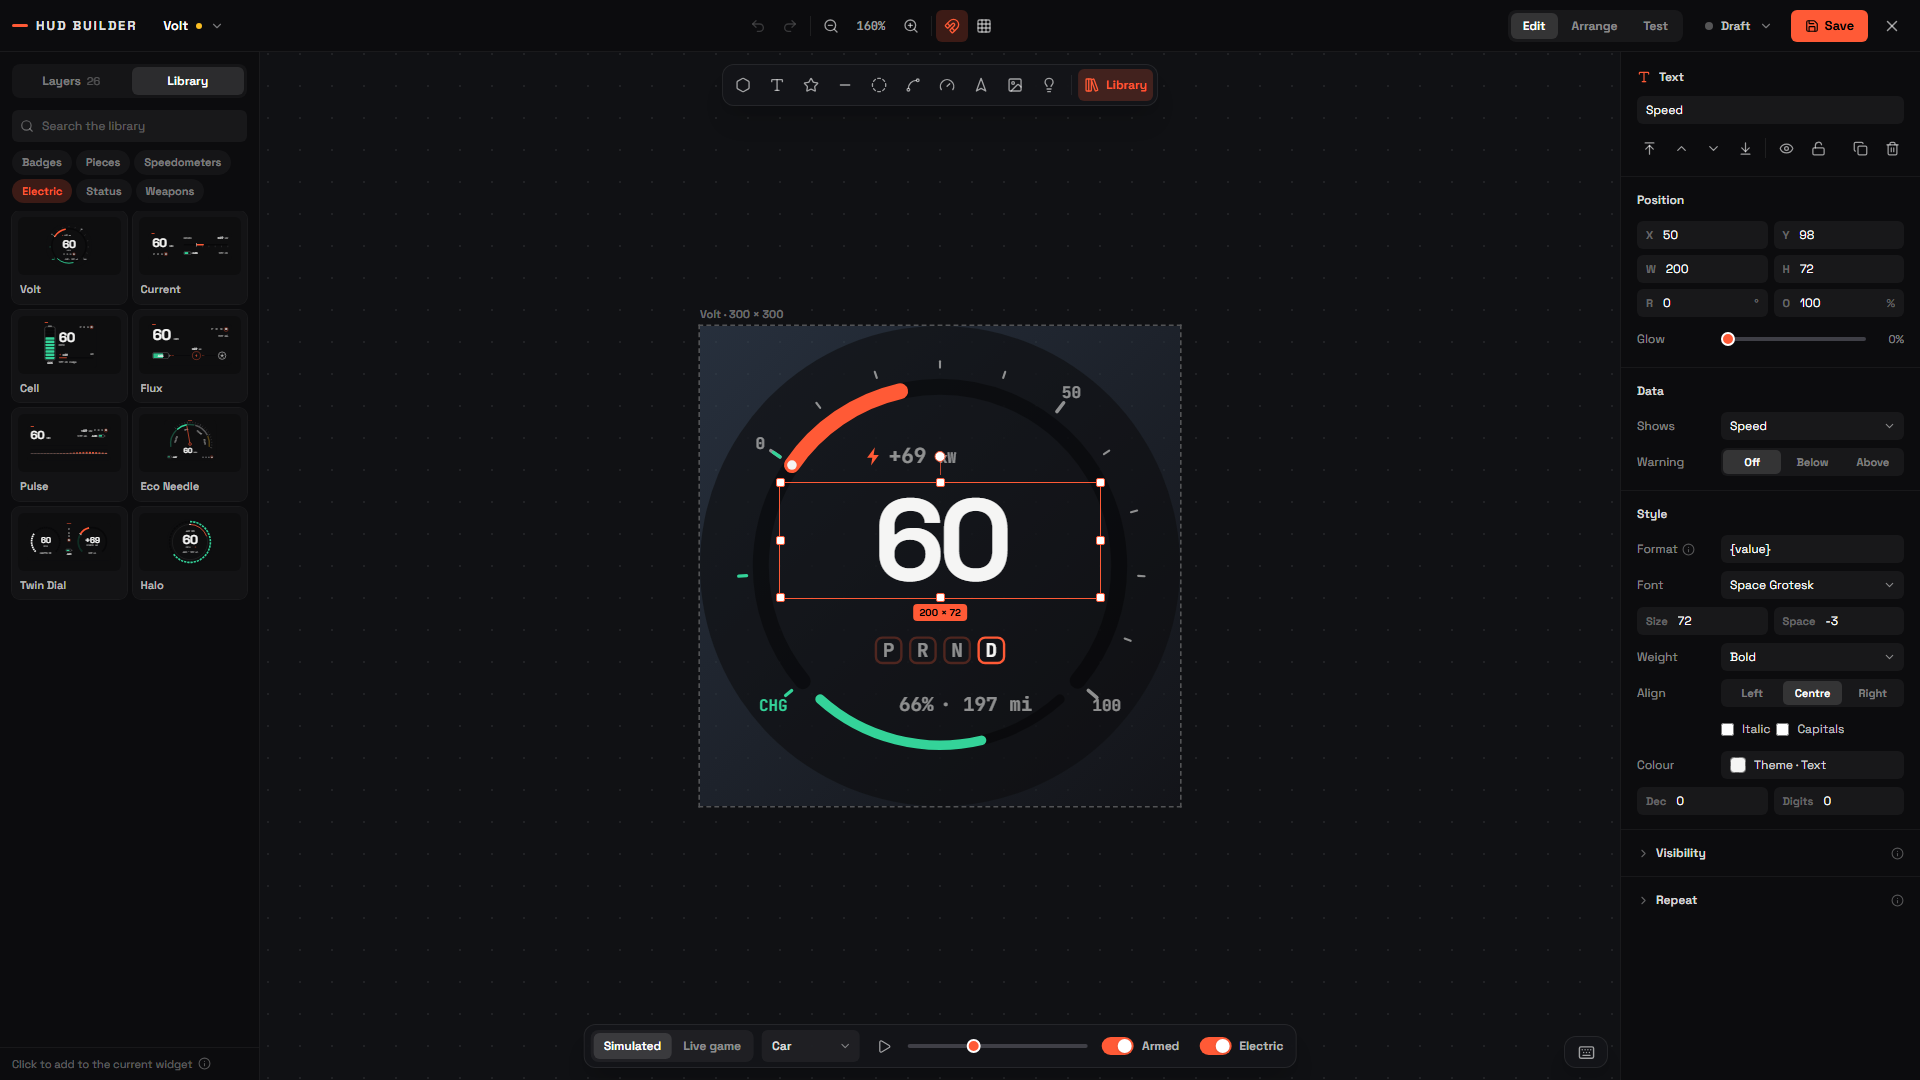
| Left panel | Two tabs. Layers: your widgets (+ adds one) with every part inside them. Library: search, then shelves of Badges, Pieces, Speedometers, Electric, Status and Weapons, click one to add it to the widget |
| Canvas | The widget, drawn live |
| Preview bar (below the canvas) | Simulated or live game data, vehicle type, ▶ to sweep the values, a slider from calm to flat-out and badly hurt, Armed, and Electric (car only) |
| Right panel | Properties of whatever is selected: Position, Data, Style, Visibility and Repeat. With nothing selected, the Widget and Design tabs |
| ⌨️ button (bottom right) | Every mouse and keyboard shortcut |
🚀 Your first design
- Open
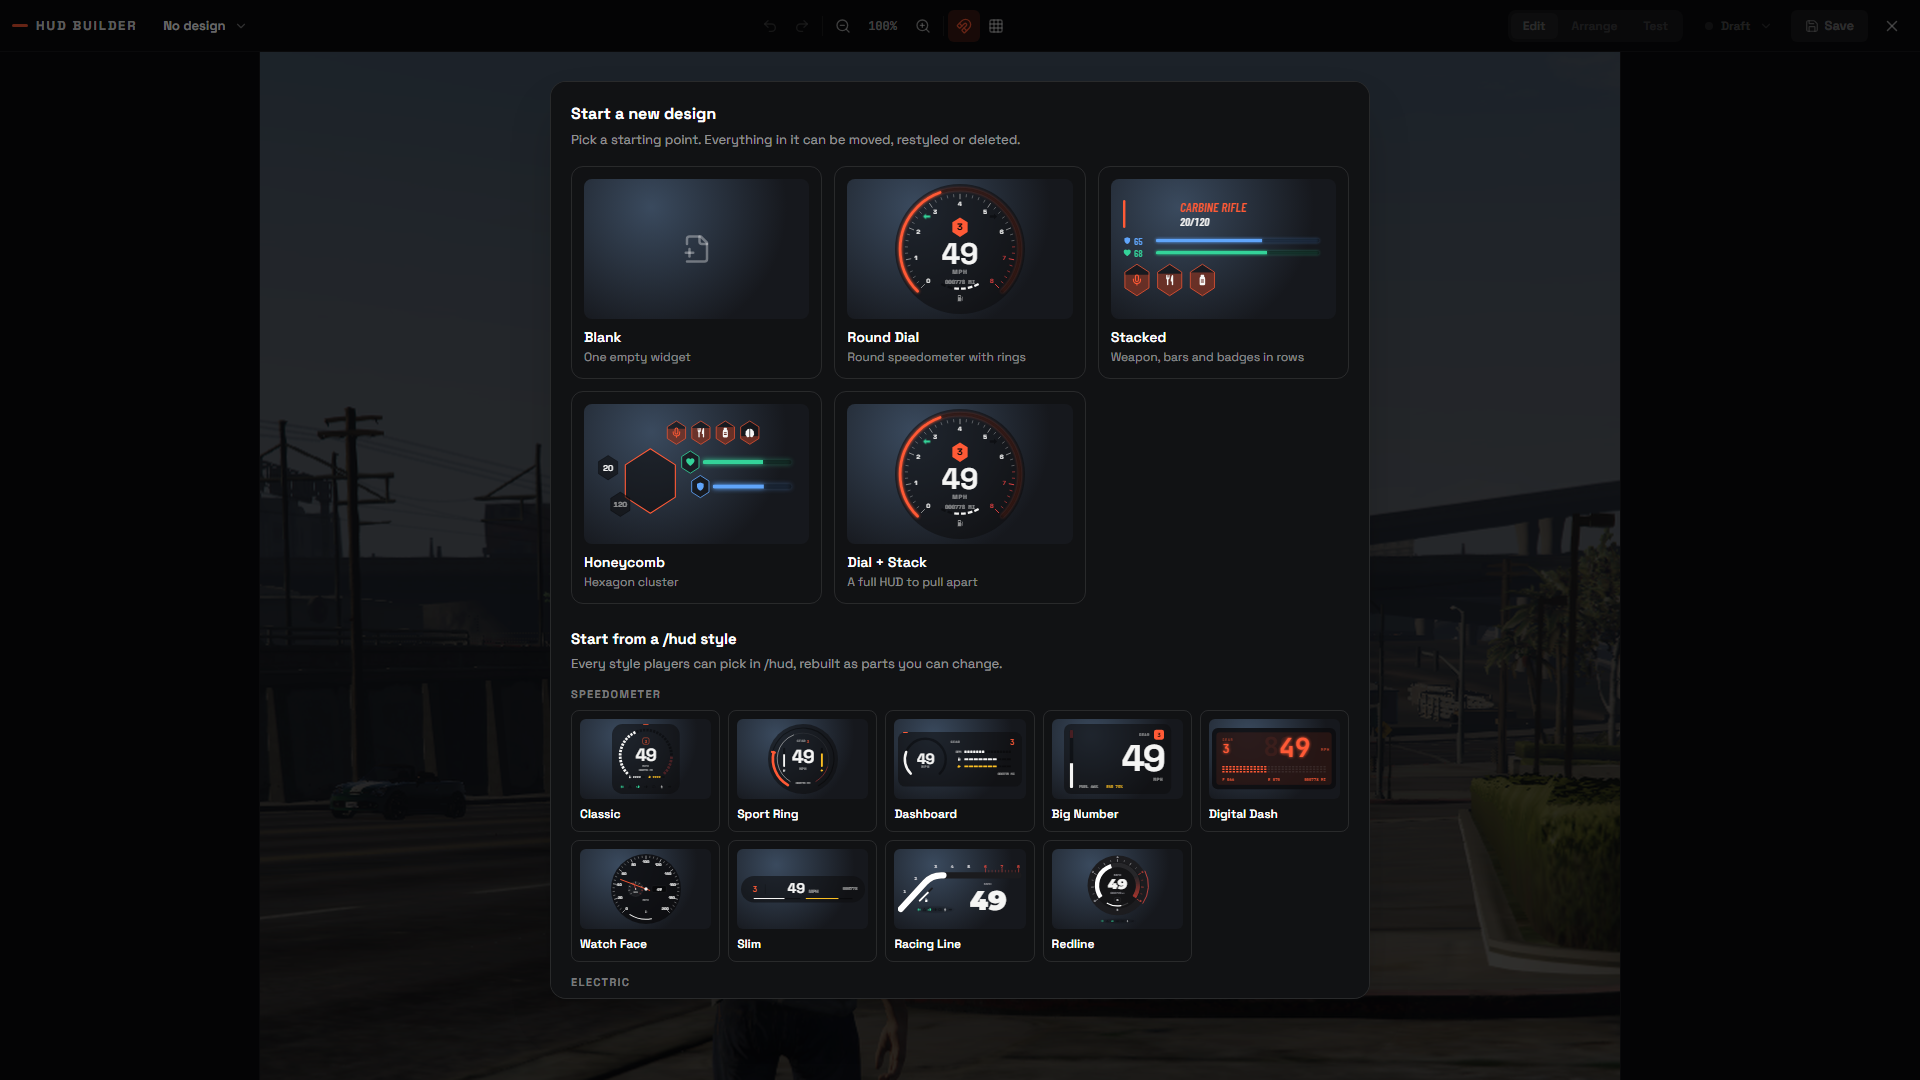
/hudbuilderand pick a starting point, Blank, a template, or Start from a /hud style to copy any built-in style. - Click a part to select it, drag to move it, drag the handles to resize or rotate it.
- In the right panel, choose what it Shows (speed, fuel, health…) and how it looks.
- Drag the Preview slider to see warnings, red zones and conditions react.
- Rename it: click empty canvas, then Design → Name in the right panel.
- Press Save, then open the publish menu (it says Draft): turn on Published so players can pick it, Server default to give it to everyone, or press Use on my HUD to wear it yourself.
⚡ Electric car designs
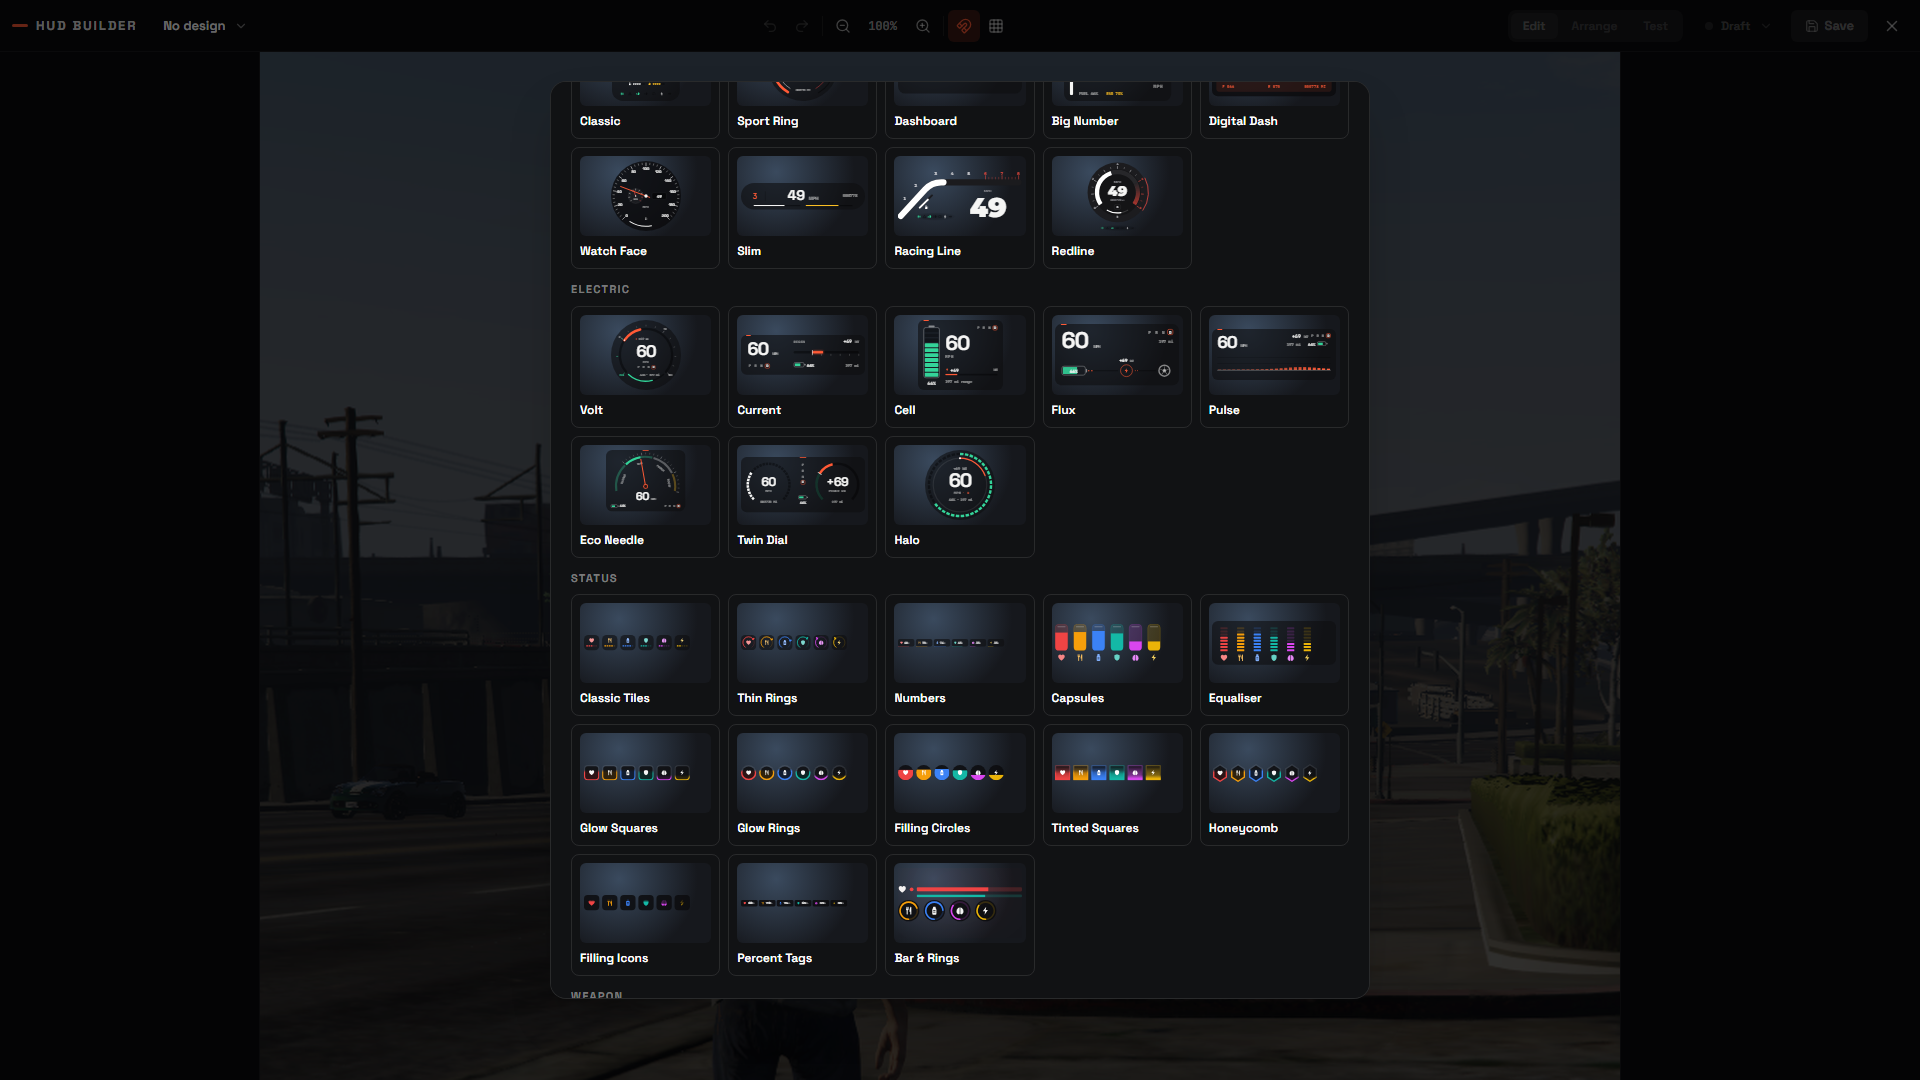
All 8 EV speedometers are in the builder under Start from a /hud style → Electric, and on the Library → Electric shelf.
- They only show in electric cars: each widget has Show while → Electric → Is on.
- They replace EV Speedometer (Design tab → Replaces built-in parts), which hides the built-in speedometer in electric cars only, petrol cars keep theirs.
- Turn on Electric in the preview bar to test them. The low end of the slider brakes the car, so you can see regen too.
- Build your own from the Electric data: battery, range, power, regen and P‑R‑N‑D.
Two things are simplified in the builder versions: Pulse shows a bar pattern that grows with power instead of a scrolling history, and Flux shows segmented lines that fill up instead of moving dots.
Continue with:
- 🧩 Parts, Every part and what it can do.
- 📡 Data & Behaviour, What parts can show, warnings, conditions and value windows.
- 🚀 Publishing & Sharing, Save, publish, default, share codes, arranging on screen.
- ⌨️ Shortcuts, Mouse and keyboard.